
Nutrition Month is here! It’s time for dietitians to shine and find engaging ways to help Canadians unlock the potential of food! One creative way is to share videos with your clients for healthy, easy, recipes they can make themselves! Short one to two-minute videos are currently a popular medium for sharing information. Making your own “how-to” or “hands-and-pans” recipe videos is a great way to profile your culinary expertise and help your clients improve their food skills. These types of recipe videos are essentially a bird’s eye view of a recipe demo. Instead of an instructional voice, there is only text overlay on the screen.
I’ve recently had the opportunity to create “how-to” recipe videos as part of my job as the Food & Consumer Relations dietitian for Manitoba Chicken Producers. I’m far from being an expert at creating these videos, but here are my top 10 take away tips for making these videos simple to create and appetizing to watch!
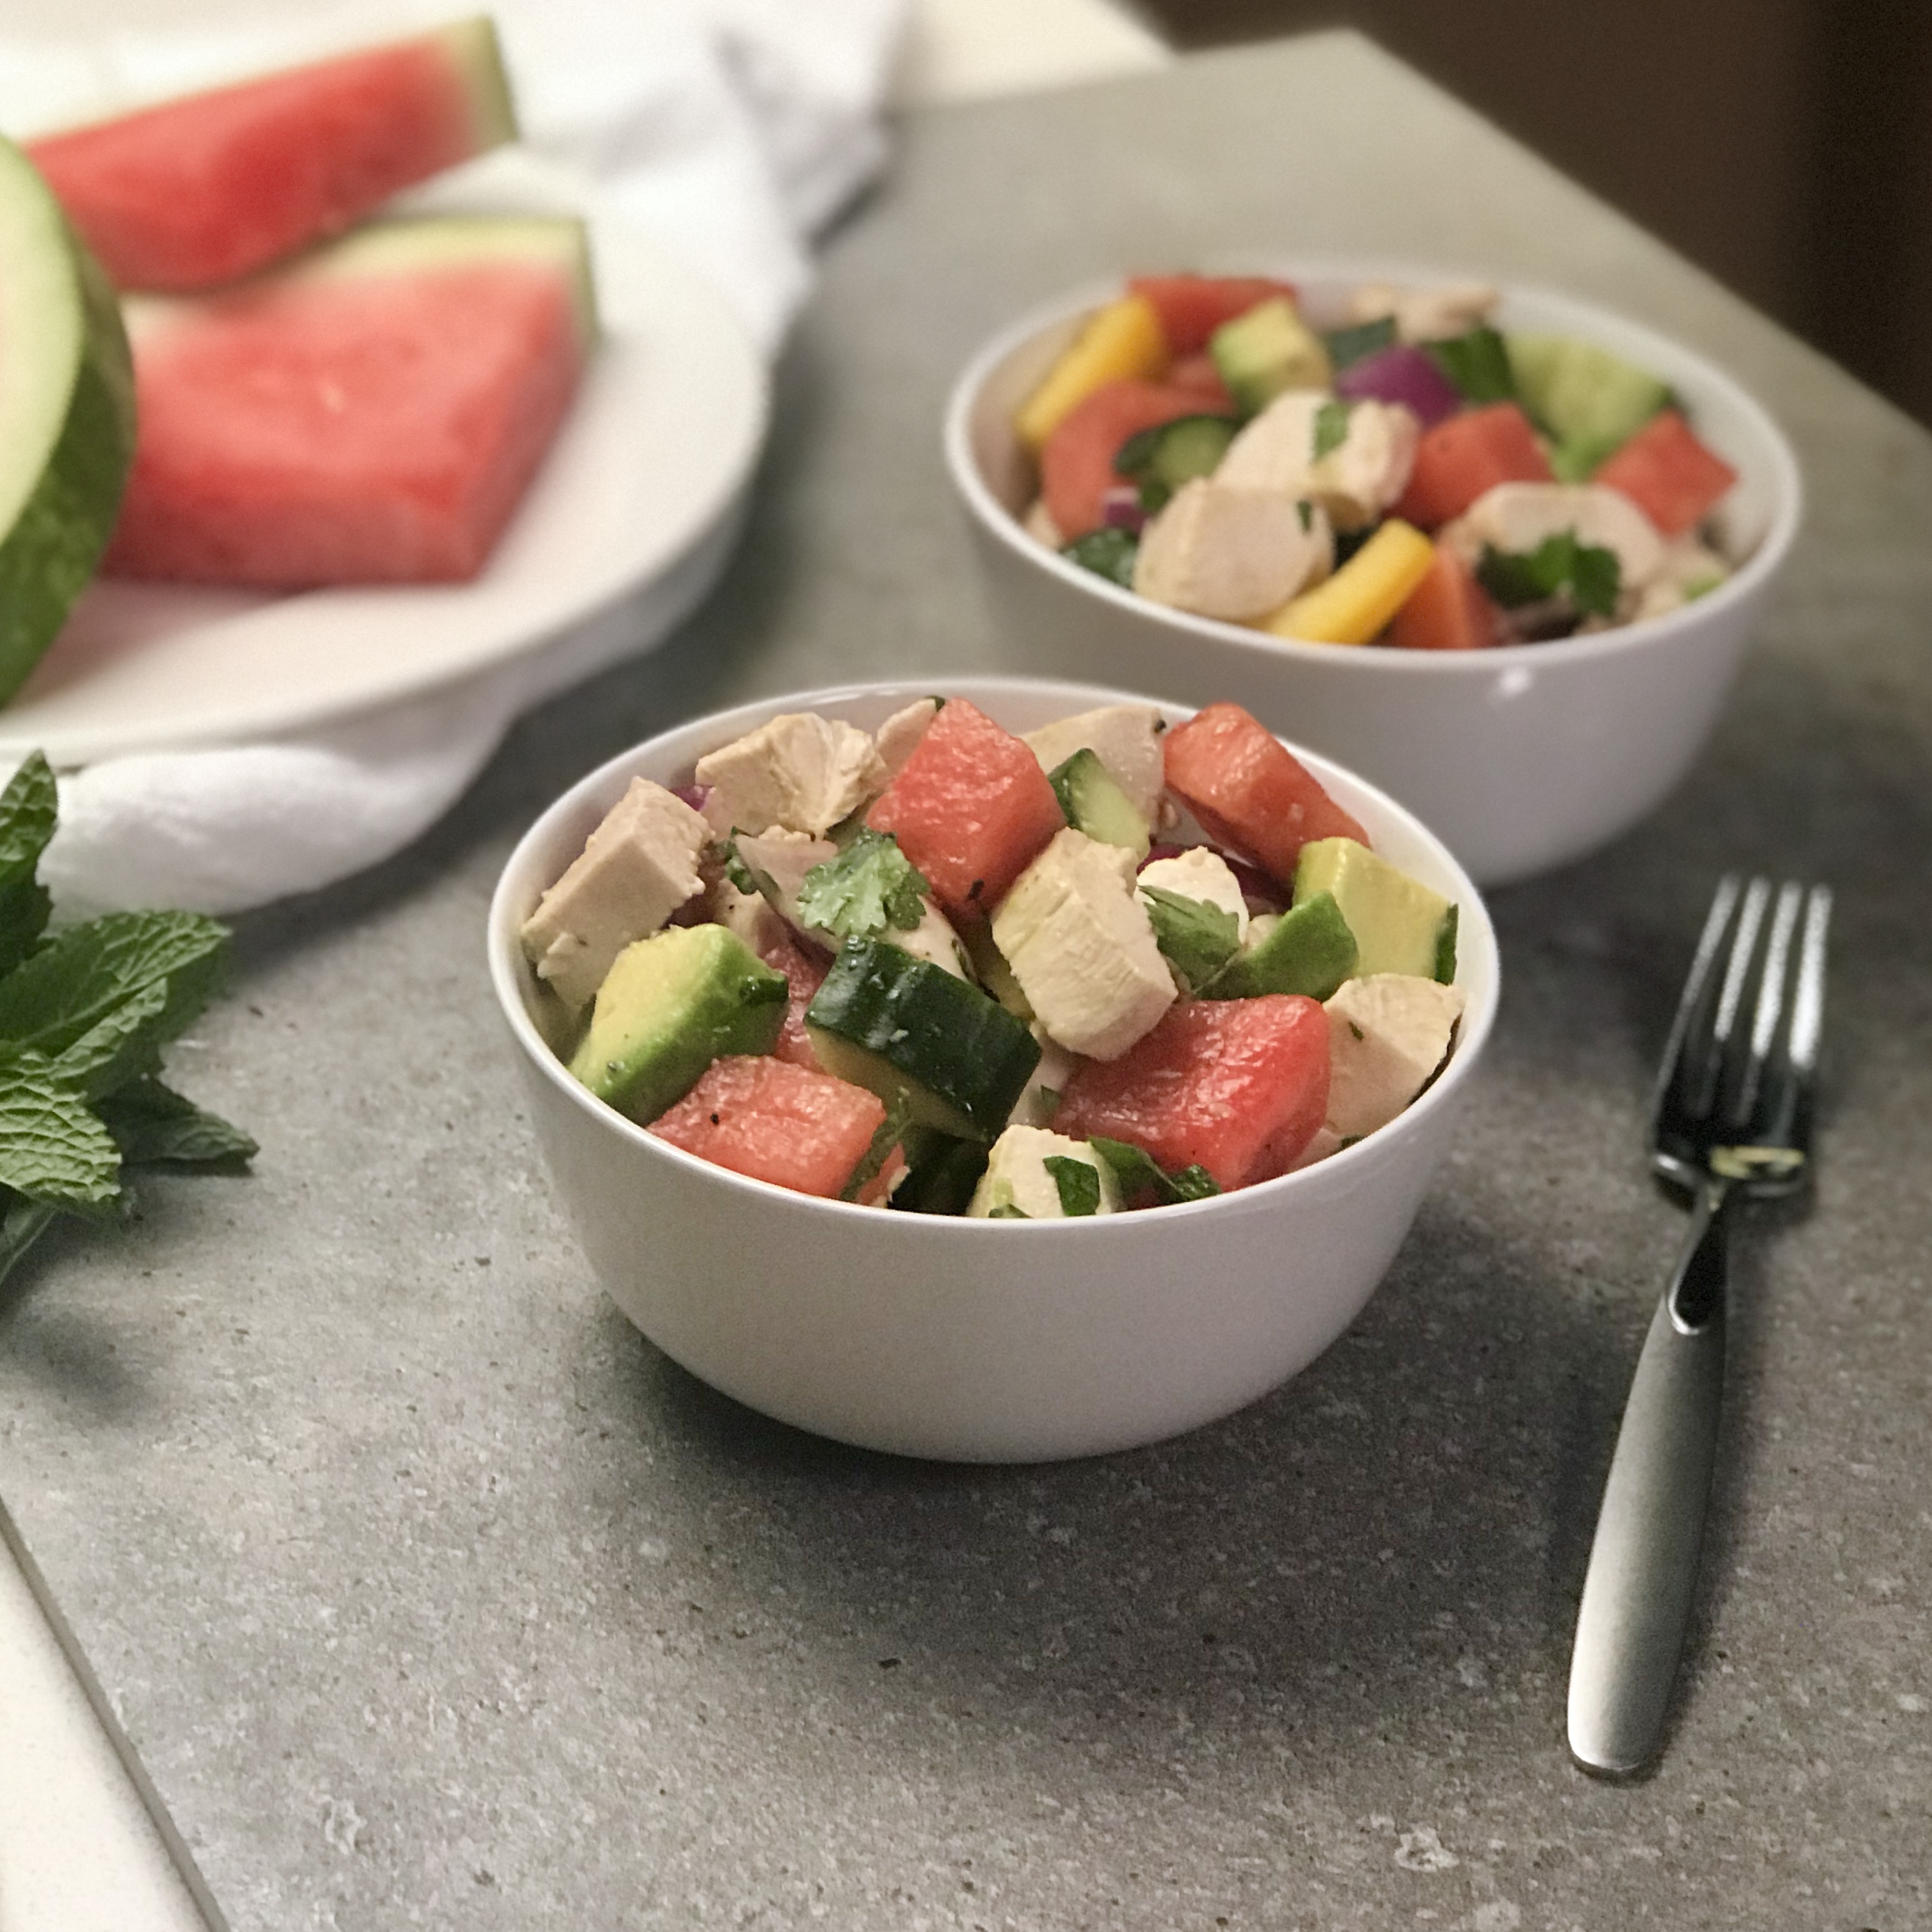
- Recipe choice: pick a simple recipe that has a minimal number of ingredients. Consider trying a salad recipe, for example. Salads are a great choice because it’s easy to portion out all of the ingredients to be combined in separate bowls.

- Equipment required: purchase a basic tripod that can hold a video camera or a smart phone. This is essential so you can position the camera overhead, above your work. A tripod also allows the camera to remain steady throughout the video. You can also rent professional equipment.
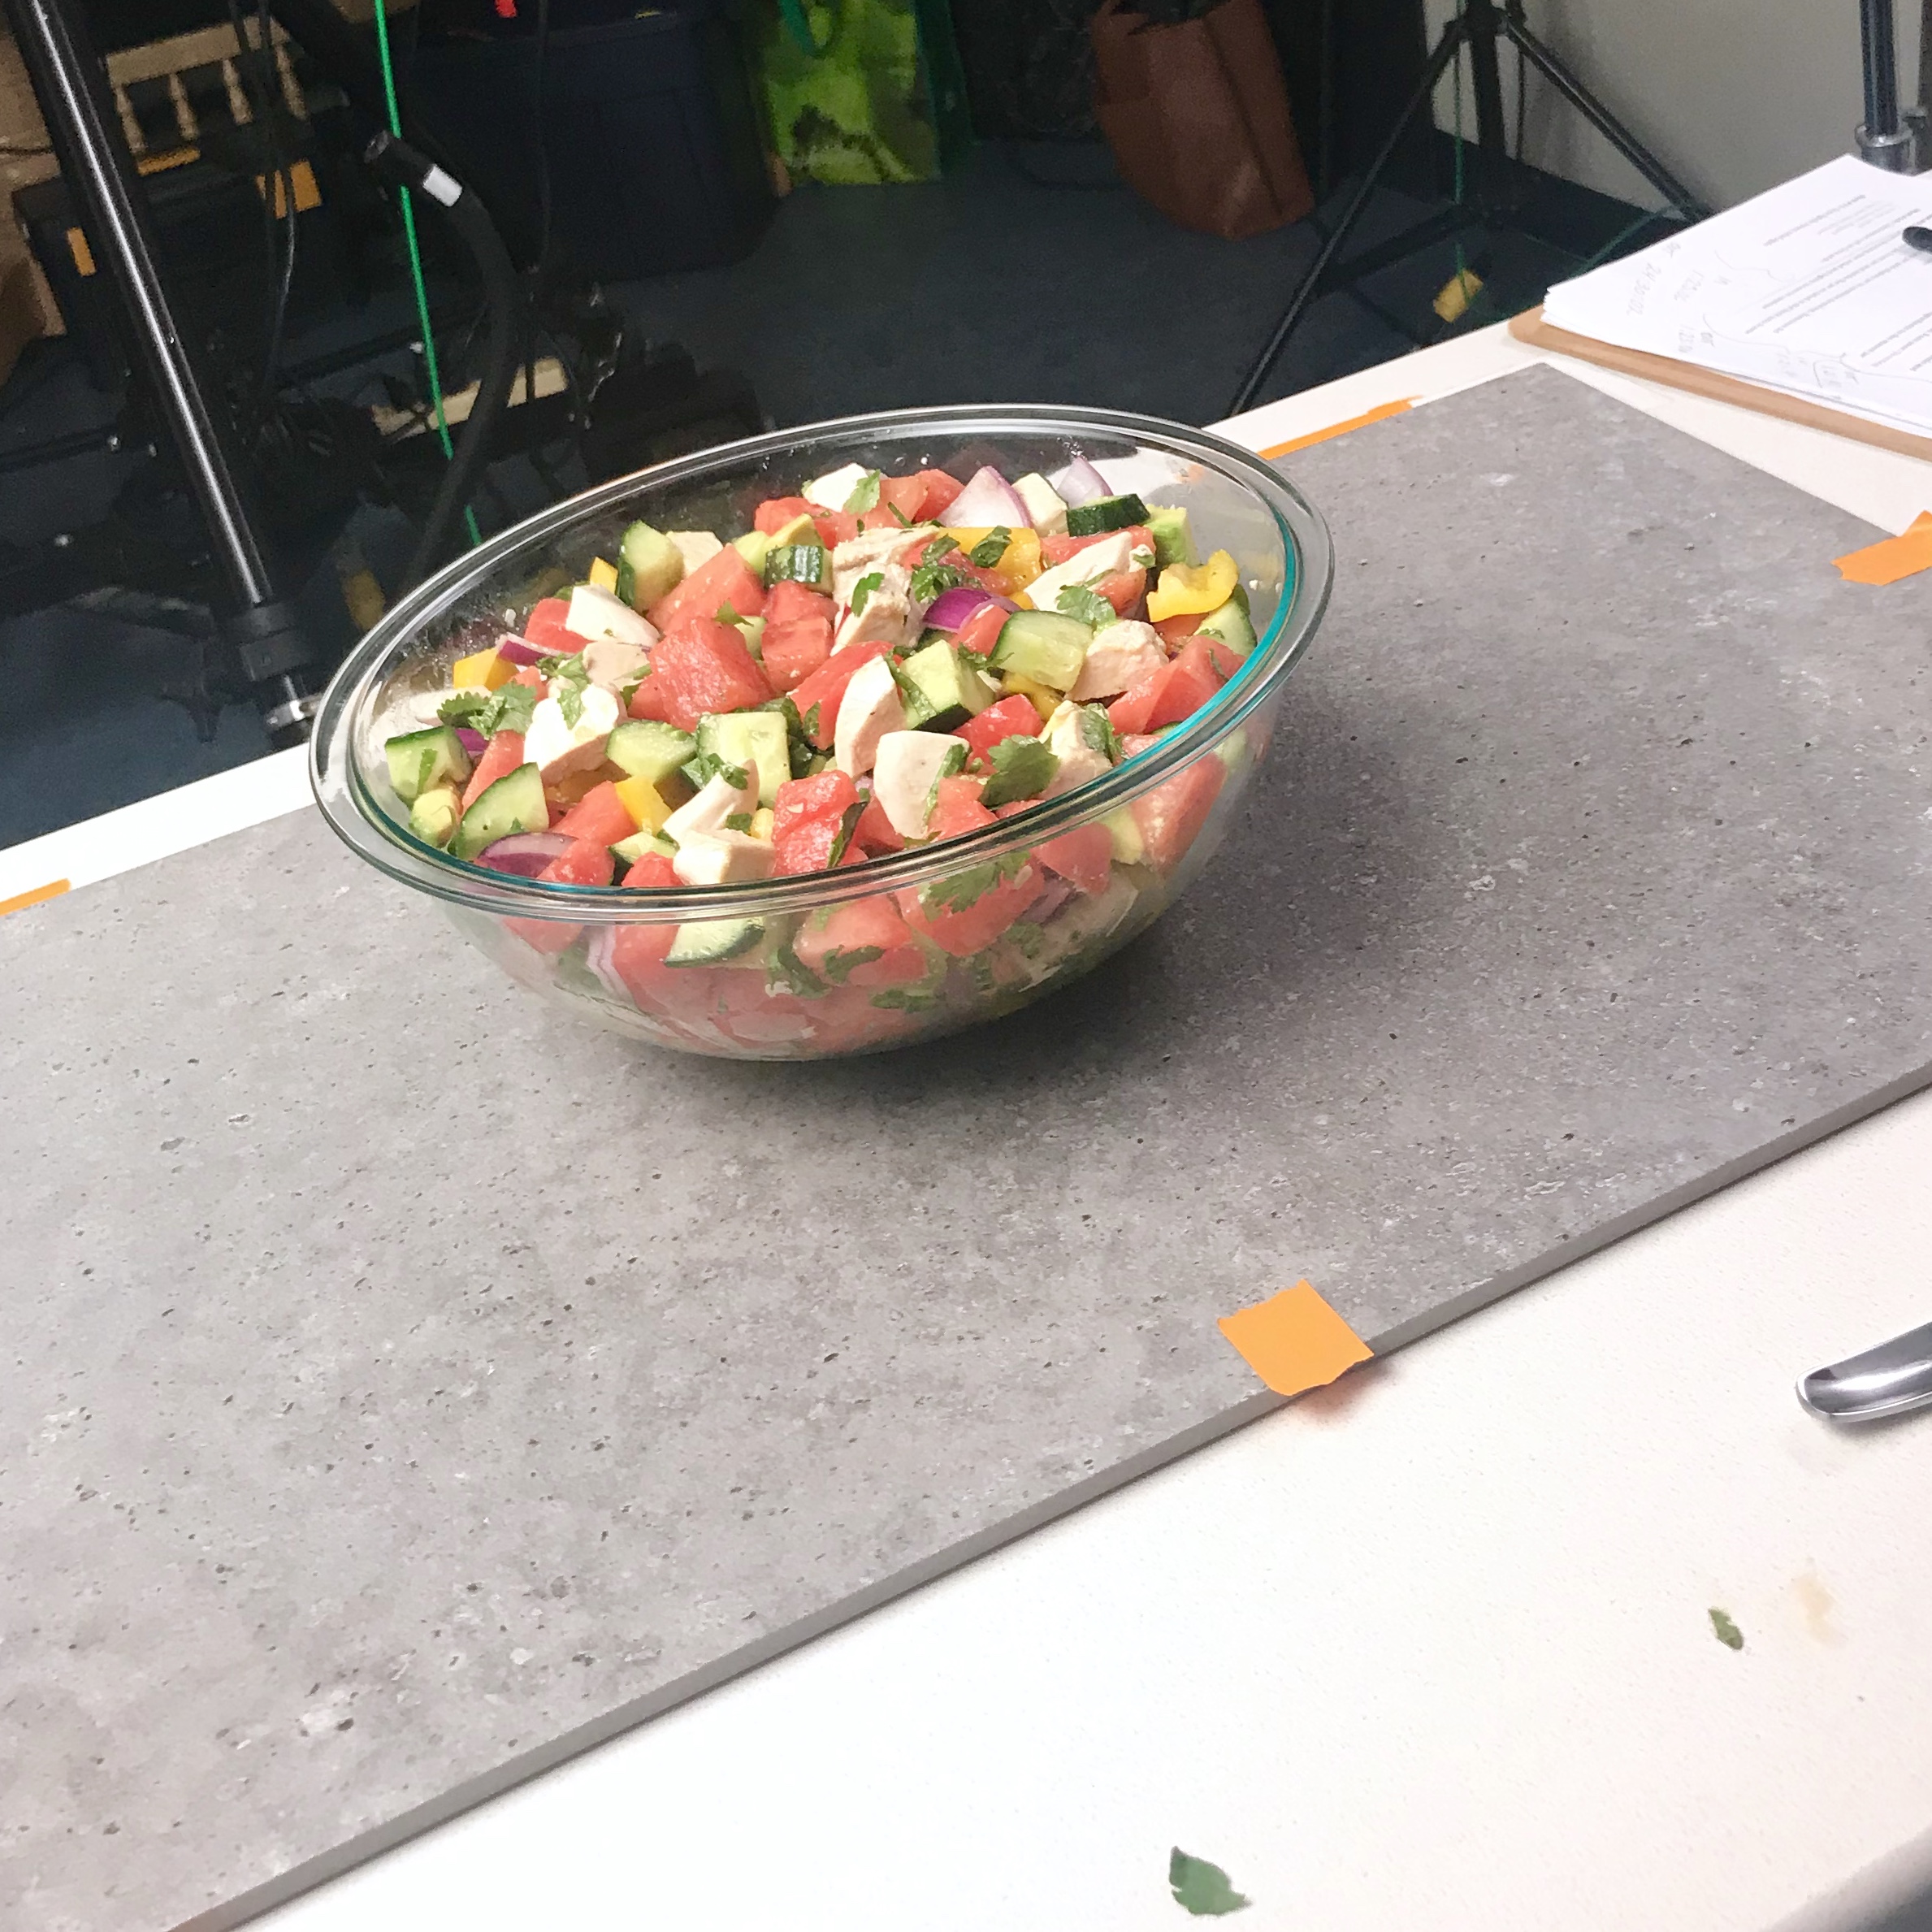
- Background: select a background that is large enough to accommodate your main bowl or pan and your hands. A surface such as a large wooden cutting board, large ceramic tile or a granite counter top works well. Check your view though your camera lens. While looking through the camera, mark off the area that is within in the view of lens with tape. The borders (or areas outside of the tape) can be used for setting-up and positioning your bowls of pre-measured ingredients you will be adding to the main bowl, pan, or pot when you create the recipe.
- Use clear glass bowls and wear short sleeves: use clean, good-condition glass bowls for your ingredients. It’s easy for viewers to see what is inside the bowls if they are clear glass. Wear short or 3/4 length sleeves to ensure your clothing does not get in the way, ensure you have clean finger nails and remove any jewelery.
- Lighting: have bright lights or consider taping your video in a room with plenty of natural light. Natural light creates a nice, soft look to your video.
- Know the order of ingredients and recipe steps: Be sure to note the order you are planning to add the ingredients and the recipes steps. Have your recipe steps determined before beginning to tape. Use accurate, measured amounts.


- Be natural with your movements: film all of your movements at a natural pace. Pause for a moment with each ingredient over the large bowl, for example, to allow the video to capture the ingredient you are adding. This will also allow time to add text to the video after you’ve finished shooting. (Remember – during editing, the video speed can be increased or decreased. For example, if you are stirring to combine ingredients, keep stirring and recording until the ingredients are mixed to the desired consistently. The amount of time that you show this step in the video can be adjusted in editing).
- Video all of the steps needed to make your video: go through the entire recipe to completion in the video. Then pause the video camera or smart phone and complete the final version of the recipe in order to show an image of the completed recipe “hero” at the end of the video. For example, if you need to put the recipe in the oven, pause the camera, bake or cook your hero and then show the completed version at the end. Another option is to prepare the hero ahead of time and then just show the recipe at the end. This method requires creating the recipe twice but saves time during the video recording.
- Add text, your branding and music during editing: videos can be edited in iMovie or sent out to a professional company to add text to accompany the recipe steps. Add your branding logo and info at the beginning and end of the video. If sending out to a company, be sure to send the steps and the text you would like added at each step. If you are able to find a local company, it is worth doing a few videos at once and then scheduling an in-person meeting to assist and guide the editing process.
- Proof the final video and go live! Creating how-to recipe videos are fun and exciting. Here is what one of my finished how-to videos looks like: Chicken Melon & Avocado Salad. It’s an example of a simple, colourful recipe that is appetizing to viewers.
Good luck with creating your own how-to recipe videos!